Manage Users
Go to Admin → Users to manage the user accounts in your organisation.
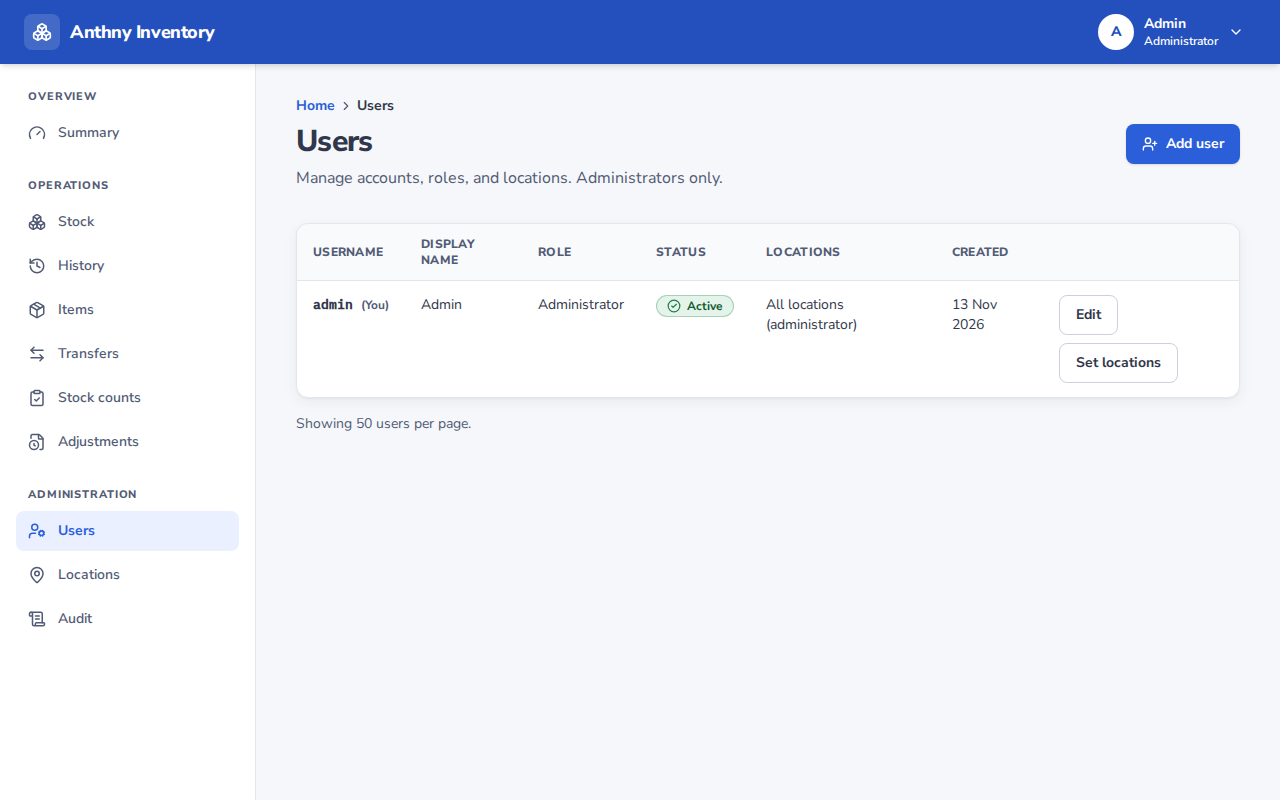
Add a user
- Click Add user
- Fill in:
- Username — used to log in (letters, numbers, hyphens; 3–40 chars)
- Display name — shown in the interface (e.g. "John Smith")
- Role — Staff, Manager, or Admin
- Password — a temporary password; the user will be prompted to change it on first login
- Click Create
Edit a user
Click Edit next to the user. You can change their display name, role, and password. You cannot change a username after creation.
:::info Password reset To reset a user's password, click Edit and set a new temporary password. Tell the user their new password — there is no automated email. :::
Disable a user
You cannot delete users (they may have created ledger entries). Instead, disable their account:
- Click Edit
- Toggle Active to off
- Save
Disabled users cannot log in. Their historical entries remain intact.
Assign locations
After creating a user, go to the Locations page to assign which locations they can access. Users only see locations assigned to them.
Admin rules
- There must always be at least one active Admin
- An admin cannot change their own role (to prevent accidentally locking yourself out)
- Admins can reset any user's password, including other admins